BLOG ARTICLE
How To Add Timestamps In YouTube Description
Last updated: 1/30/2026
Last updated: 1/30/2026
Did you know that using specific keywords in your YouTube video chapters and timestamps can help your videos rank for a broader range of keywords in YouTube search?
This strategy is known as “matching chapters” by YouTube.
But don’t just take our word for it—here’s an example:
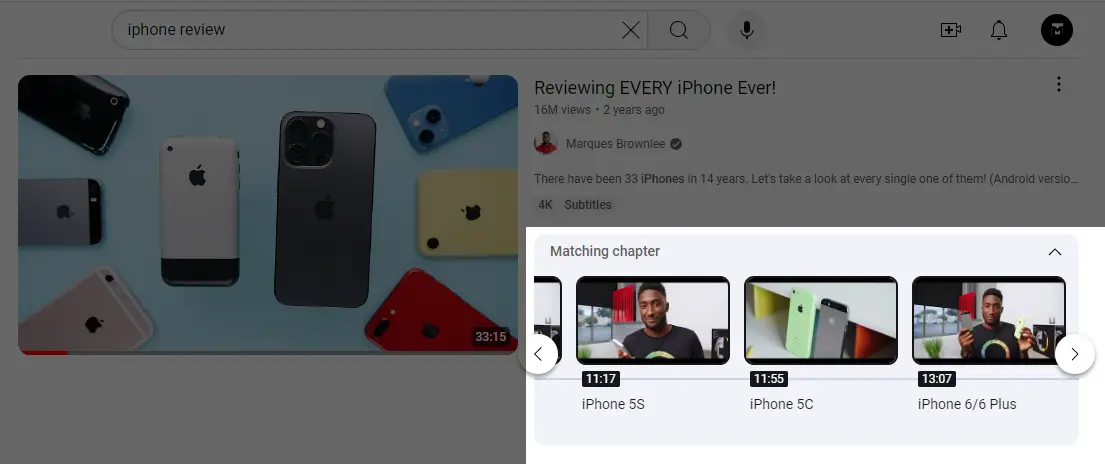
At Podsqueeze, our YouTube chapter and timestamp generator is specifically designed with this in mind. Simply upload your video, get optimized titles for your chapters and timestamps, and watch how your videos perform.
How Do You Add a Timestamp in Your YouTube Description?
It’s simple! In just four steps, we’ll show you how. But first, what exactly is a YouTube timestamp?
What's a YouTube Timestamp?
Timestamped chapters break your video into specific segments, allowing viewers to jump directly to the content they’re most interested in. This combination of segmentation and precision enhances the overall viewer experience.
There are several ways to generate timestamped chapters for your video. You can opt for YouTube’s automatic timestamped chapters, which is a quick option that only requires a few clicks. However, if you're serious about optimizing your video’s search performance, relying solely on YouTube's automatic timestamped chapters might not be sufficient.
Another option, as mentioned earlier, is to use an AI tool that crafts optimized titles for your timestamped chapters. These titles are recognized by the YouTube algorithm and indexed for better ranking in YouTube searches when users look for related keywords.
Regardless of your preferred method, we’ll cover how to create YouTube timestamped chapters both automatically and manually.
How To Opt For YouTube Automatic chapters
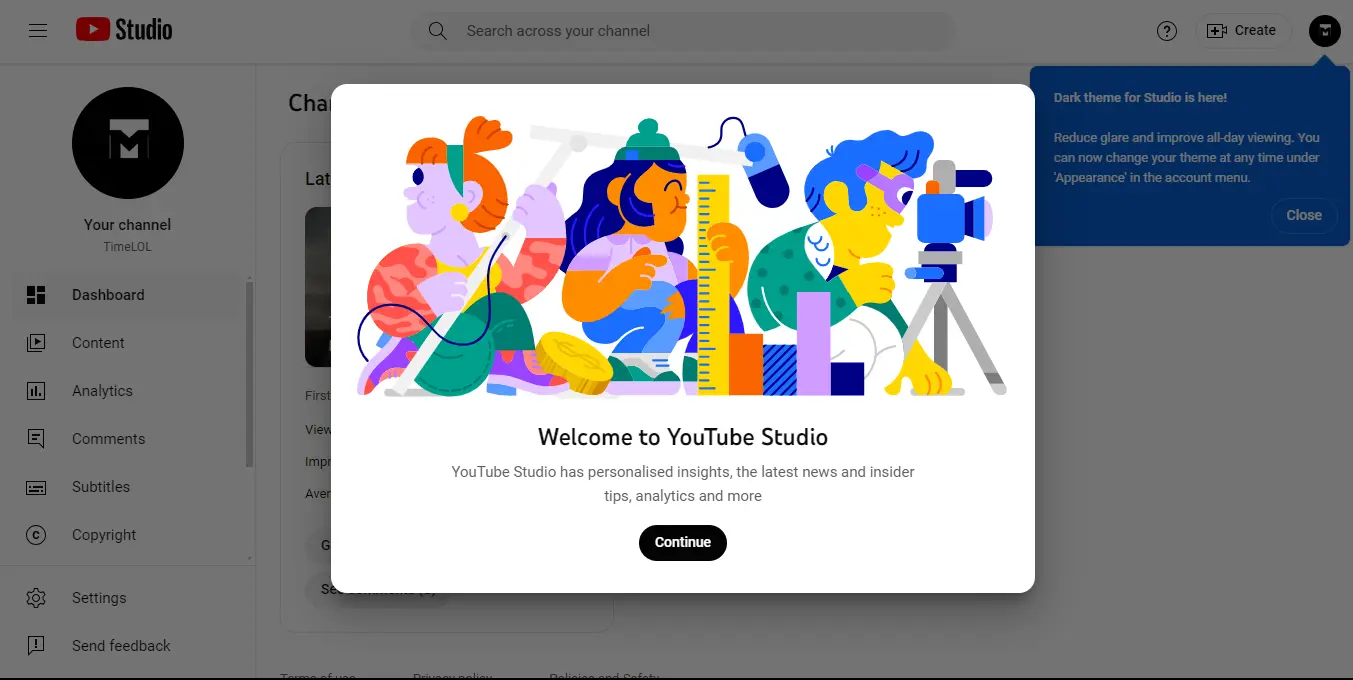
To add timestamped chapters automatically, first, sign in to your YouTube Studio.
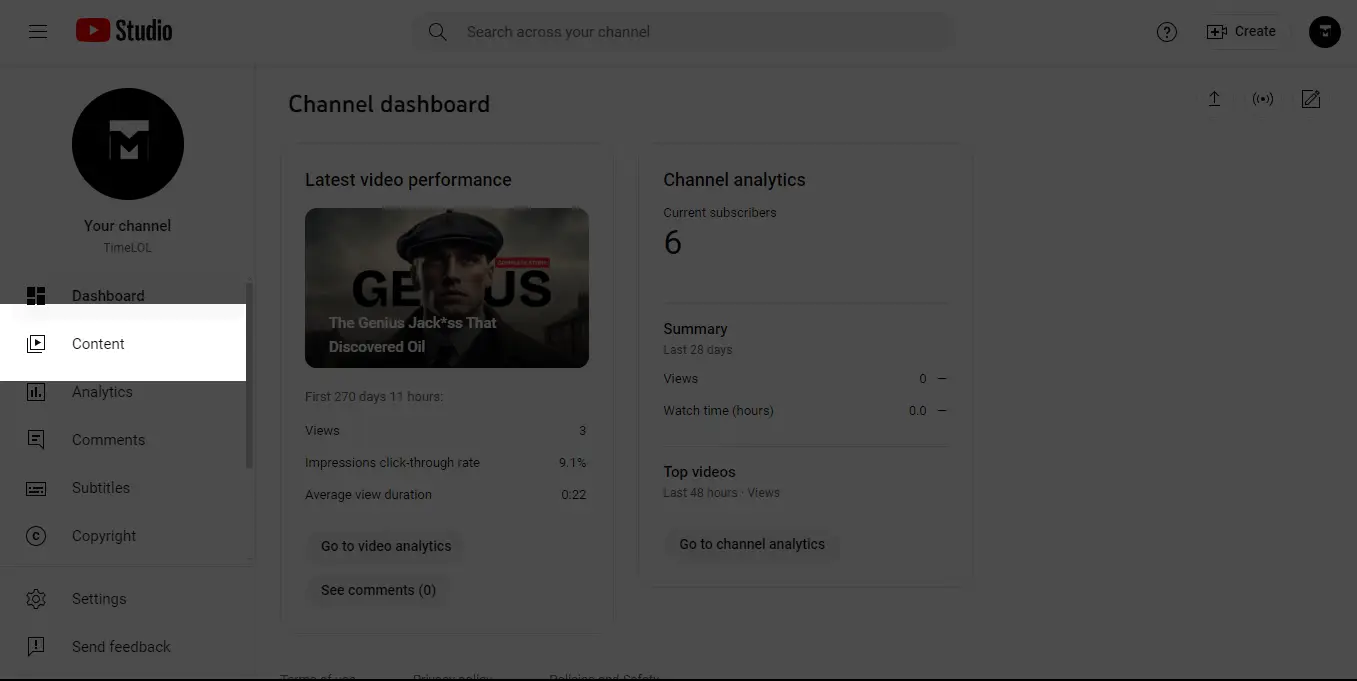
From your dashboard, go to the left menu and select “Content”. There, you'll have a list of all your uploaded videos. Find the video you want to add timestamps for and click on it.
Then scroll down, and click on “Show more”. There, you'll find the option for “Automatic chapters”, click the “Allow automatic chapters and key moments” option.
Then click “SAVE”.
Refresh your Studio, go to the video that you just checked the automatic chapters on, and see the changes reflected in your description.
Note: By the way, if you've toggled on automatic chapters for a video, by default, other videos that you upload will also be checked for automatic chapters.
Also, not all videos are eligible for automatic chapters (even after you've toggled the automatic chapters).
To avoid this, you might want to switch to a more reliable an customizable option for your youtube video timestamped chapters.
How To Generate YouTube Chapters & Timestamps With Podsqueeze In 4 Steps
First, sign up for a free Podsqueeze account (it takes less than 3 minutes to sign up).
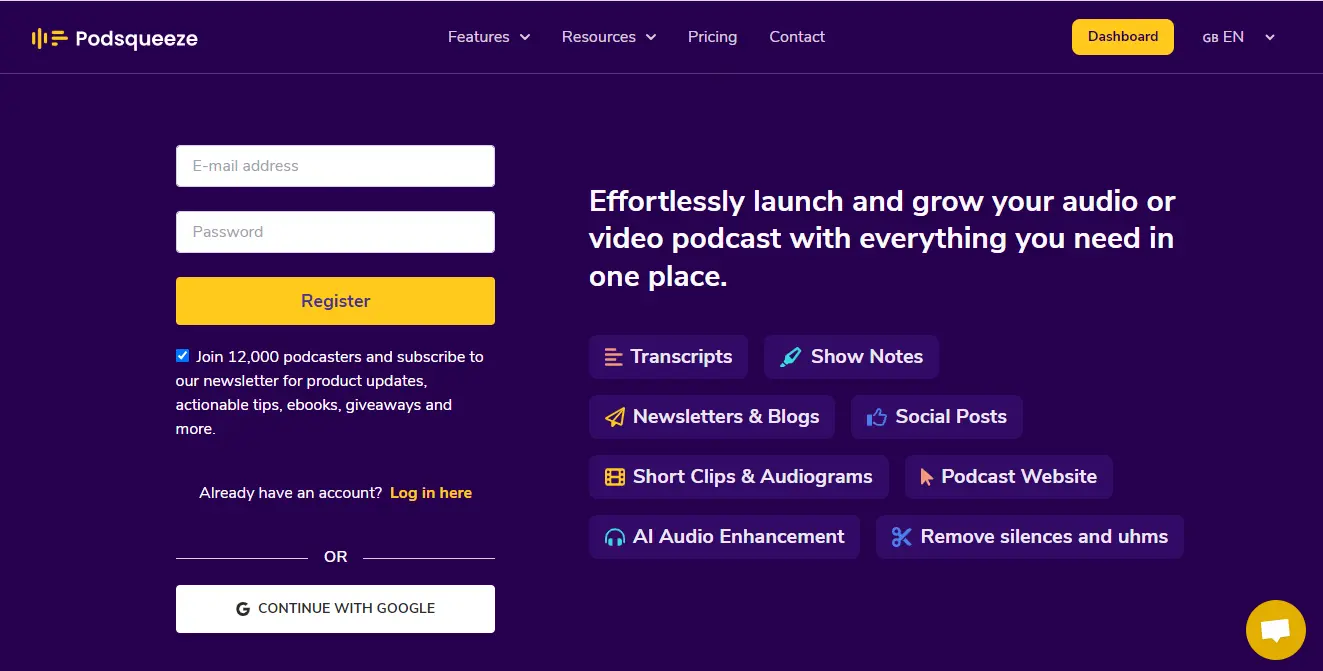
You'll get a free account where you can get up to 50 minutes to use for your YouTube videos.
Now, to get your optimized chapters and timestamps, click on the “Convert New Episode” button and you'll get a page like the one below.
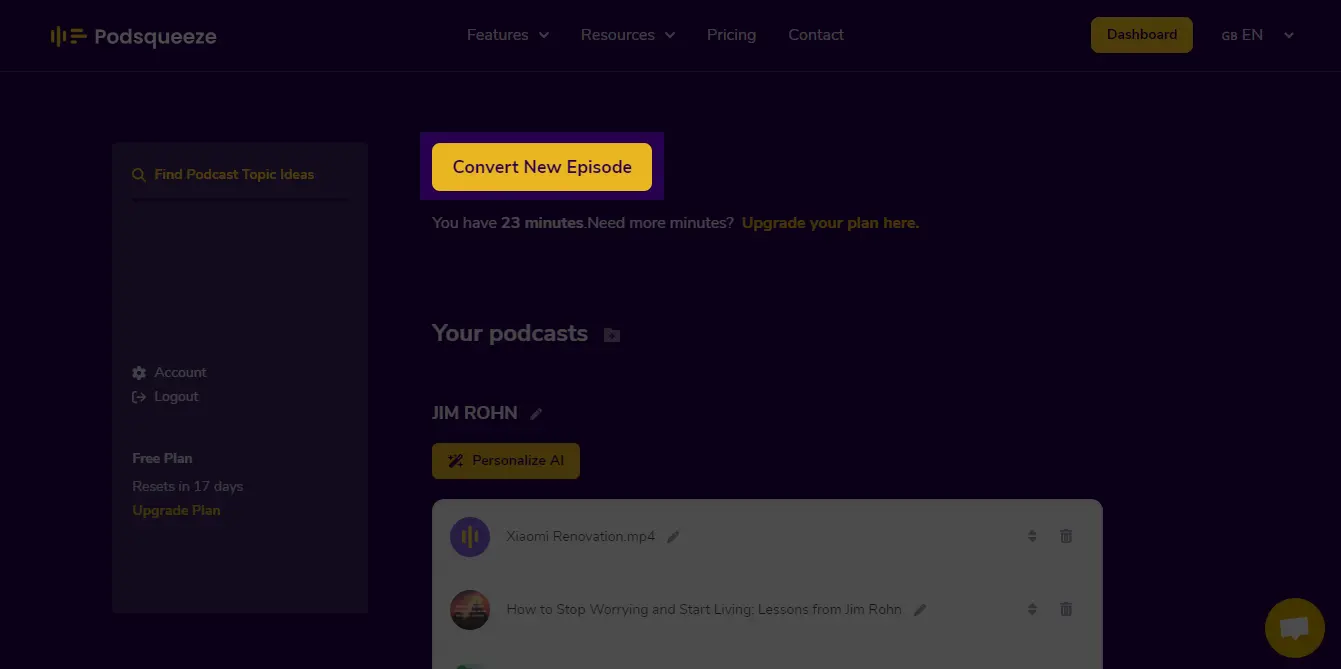
From this page, click the “Upload Audio or Video” option to upload the YouTube video you want to generate chapters and timestamps for (the upload typically takes less than 5 minutes but can take a little longer depending on the duration of your video).
After the upload is done, you'll get multiple pieces of content to publish and promote your youtube video, including timestamped chapters.
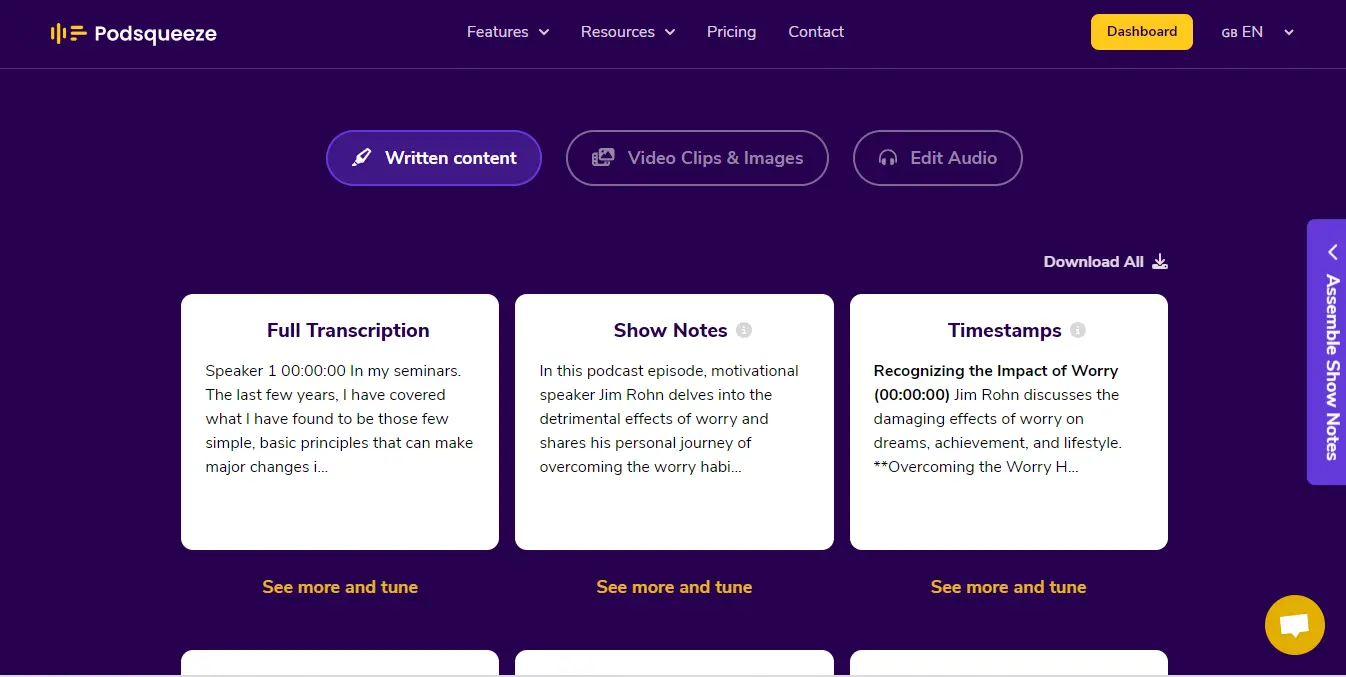
For example, you can use the “Full Transcript” option to convert your YouTube video to text or use the description card to create a youtube description for your videos.
Now, back to chapters and timestamps. Swipe down on the assets generated for your uploaded YouTube video and click on the “Timestamps” card.
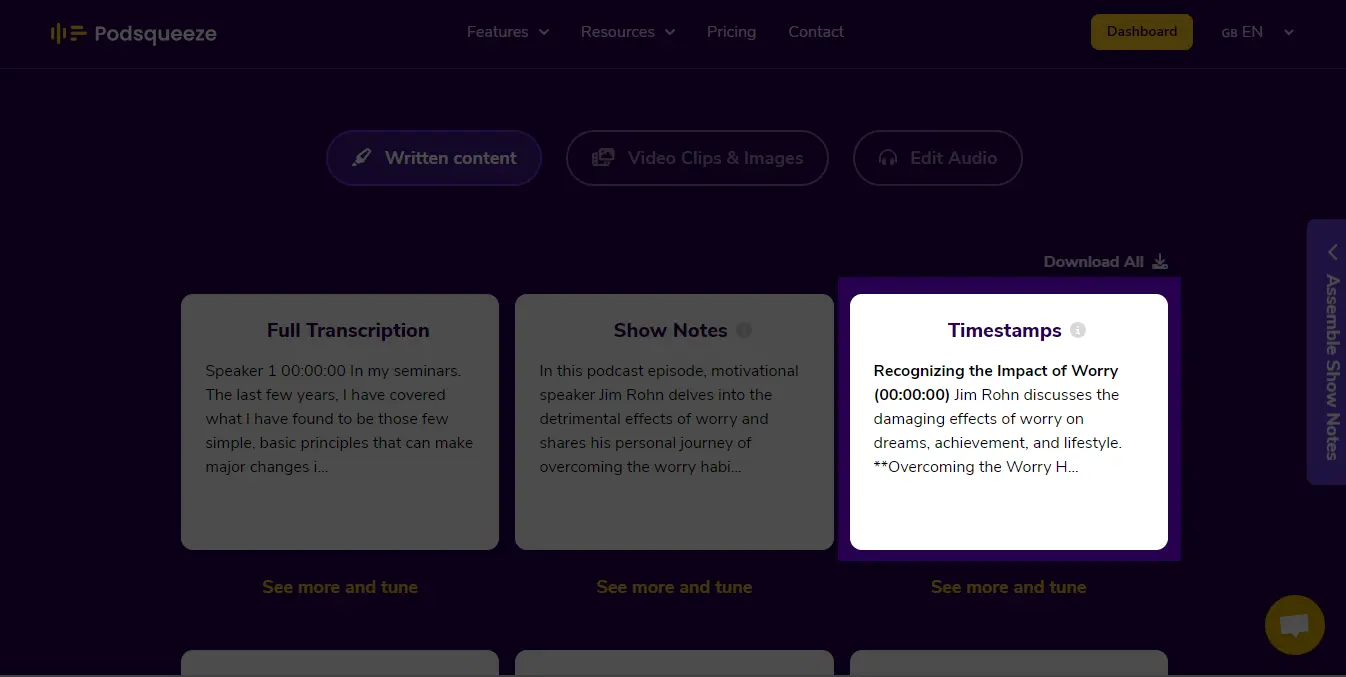
There you'll get optimized chapters and timestamps for your video ready to be used. You just need to copy and paste these into your video description and youtube will automatically segment your video for you.
Again, sign in to YouTube Studio. On your dashboard, toggle the left menu and select “Content”.
From your content, click the video that you'd like to edit. Go to the description and paste the Podsqueeze generated timestamps there.
Note: If you manually edit your timestamped chapters, ensure that the first timestamp starts at 00:00:00, and your video includes at least three timestamps listed in ascending order. Additionally, each chapter should be a minimum of 10 seconds long.
After you're done with click “SAVE”.
Conclusion
And there you have it, optimized chapters for your YouTube videos! You can repeat these steps however you want for the number of videos you want to be optimized and to get ranked for a wider range of keywords.
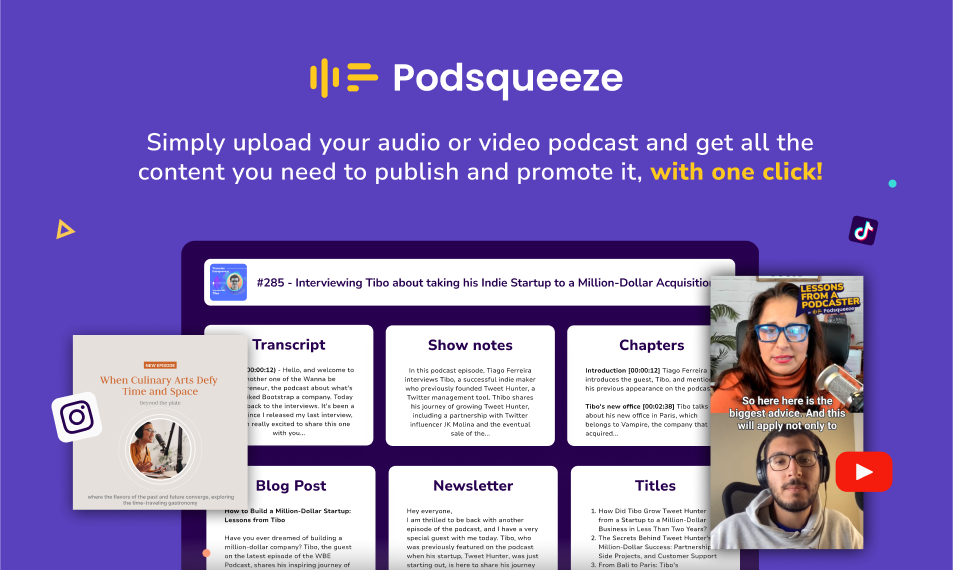
Repurpose your podcast content with AI